
Submit Change to NFIP Policy
This page serves as a directory for various Policy Changes agents can request through the Equinox platform. Each change type includes details about the process, effective dates, and required documentation. Agents can reference individual procedures for more specific instructions.
|
Policy Change Categories
Administrative Changes
| Administrative Changes | |||
|---|---|---|---|
| Policy Detail | Effective Date | Auto-Issue? | Documents |
| Mortgagee Clause | Date of request | Yes | No |
| Insured Mailing Address | Date of request | Yes | No |
| Billing Instructions | Start of new policy term | Yes | No |
Insured Name Changes
| Policy Detail | Effective Date | Auto-Issue? | Documents |
|---|---|---|---|
| Name Corrections | Start of current term | Yes | No |
| Adding/Removing a Co-Insured | Date of request | No | Link |
| Updating a Name | Date of legal change | No | Link |
| Policy Assignment | Date of Closing | No | Link |
Building Characteristics Changes
| Policy Detail | Effective Date | Auto-Issue? | Documents |
|---|---|---|---|
| Elevation Data Update | Start of current term | No | Link |
| Flood Zone Revision | Based on FEMA map changes | No | Link |
Coverage Changes
| Policy Detail | Effective Date | Auto-Issue? | Documents |
|---|---|---|---|
| Coverage Increase | 30-day waiting period | No | Link |
| Coverage Decrease | Start of current term | Yes | Link |
| Deductible Change | Start of new policy term | Yes | Link |
General Process
1. Access Policy Record

Open the Policy Record to start
To quickly navigate to the Mortgagees section:
- Find the Policy Actions block on the right
- Choose Policy Changes
- From the next menu, click the Mortgagees option
2. Add / Edit / Delete
Enter the requested changes using the options below.
Add
To add a mortgagee, follow these steps:

 Once all details are entered, click the "Save" button (move to Step 3 below).
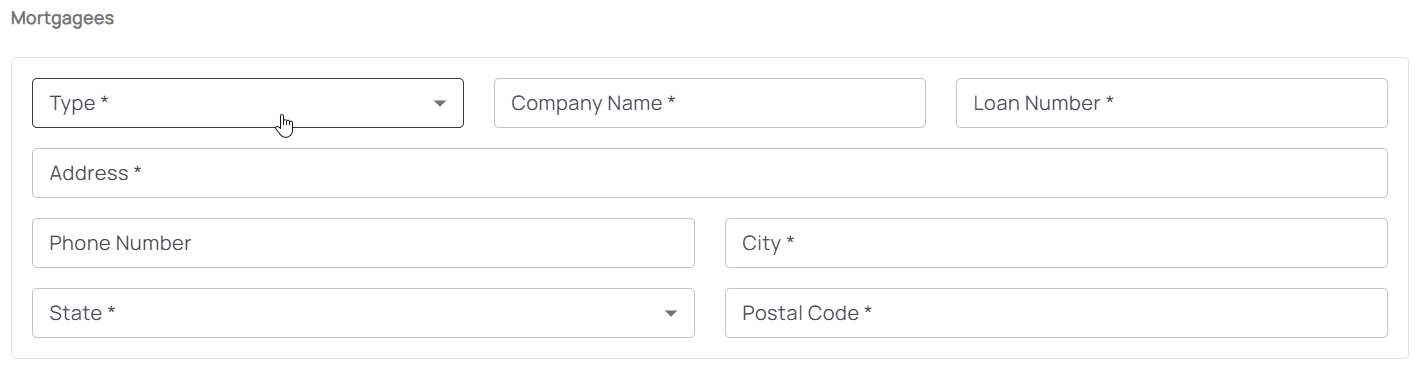
- Click the "Add Mortgagee" button
- Enter the mortgagee information
- All starred content (seen below) must be entered for the "Add" button to activate
- Mortgagee Type will sort the mortgagee clause into the proper position
Edit
To update a mortgagee, follow these steps:
 Once all details are entered, click the "Save" button (move to Step 3 below).
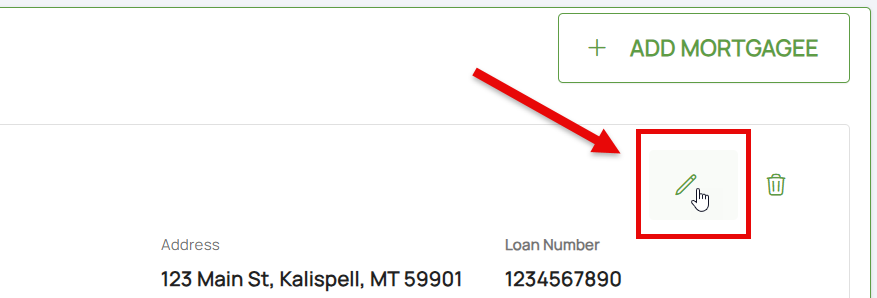
- Click the Pencil icon
- Adjust the appropriate mortgagee information
- All starred content (seen below) must be entered for the "Save" button to activate
- Mortgagee Type will sort the mortgagee clause into the proper position, such as when moving a first mortgagee into the second mortgagee position
Delete
To remove a mortgagee, follow these steps:
 Once all details are entered, click the "Save" button (move to Step 3 below).
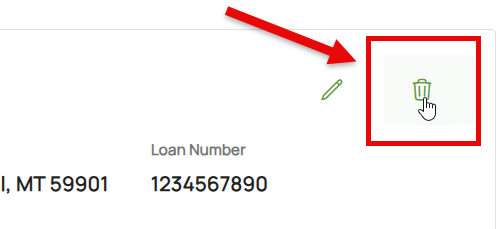
- Click the Trash Can icon
- If needed, the deletion can be reverted (see below)
3. Choose Effective Date

Scroll to the top of the page to enter the effective date.
- Backdating is not allowed.
- Enter today's date or a later effective date.
- Choose "None" for the Waiting Period.
4. Review and Submit
Review the changes for accuracy and completeness before finalizing.

Once the effective date is entered, click the Issue button.
- The "Abort" button will exit without saving any details.

The system will process the change immediately. A Declarations page with the updated information will be available in the Documents section of the Policy Record.